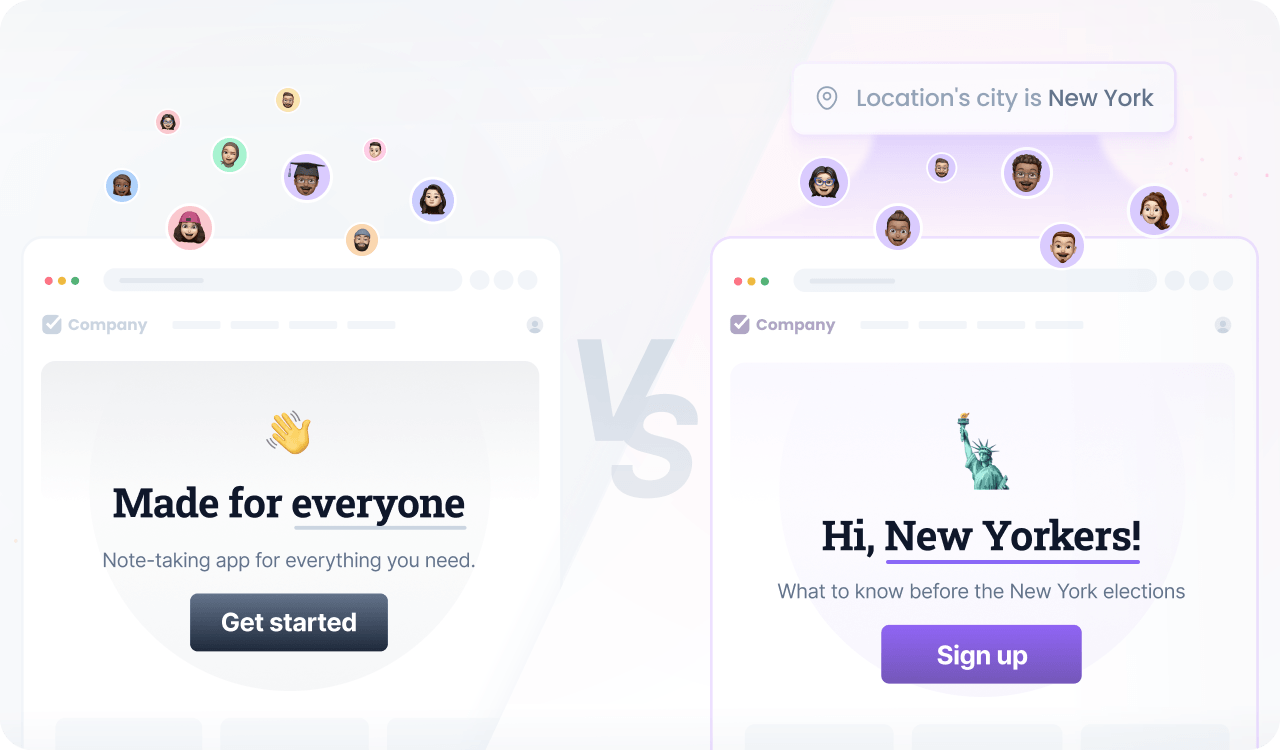
Location-based personalization
Connect with users by tailoring content to their region.
Geomarketing may not be a brand-new strategy, but no one can argue that it is one of the most powerful marketing strategies.
Using dynamic geolocation-based content allows companies to communicate only to users browsing from specific regions without affecting the navigation experience elsewhere.
Prerequisites
Before you start, make sure you have:
- A Croct account with a workspace and application set up.
- Integrated a slot into your project.
If you have not done any of these, follow the instructions on the provided links and come back here once the setup is done.

You can use the CLI to run this template instead of configuring this manually on the interface.
Step by step
Follow this to configure your experience:
- Create an experience
Open the experiences page in the admin app and click New experience to create an experience.
- Define an audience
In the Audience tab, click New audience and define a criteria.
You can segment users based on various aspects of their location, such as country or city:
location's city's name is "New York"You can go beyond standard geographic information by also using semantic tags that describe the type of place with meaningful labels:
location's city's name is "New York"or location's tags include "beach" - Select the slot
Click the Slot tab and select the ones you want to personalize.
You can select multiple slots across the website to maintain consistent communication. Some popular choices are the announcement bar, the hero section, and the carousel section.
- Define the personalized content
Click the Content tab to specify which content should be shown to those users in the selected slots.
- Preview and publish
Publish your experience or click Preview to see the magic happen.