Create your first slot
Set up a slot and render it in your application.
In this tutorial, you will create a component, set up a slot, and render its content in your application. By the end, your content will be managed from the admin app, so anyone on the team can update it without touching code.
Prerequisites
Before you start, make sure you have:
- A Croct account with a workspace and application set up.
- The Croct SDK installed in your project.
If you have not installed the SDK yet, follow the guide for your framework and come back here once the setup is done:
Create the component
A component defines the structure of your content. Let’s create a hero component with a title, subtitle, and a call-to-action button.
Open the components page in the admin app.
Click New component and set the ID to home-hero.
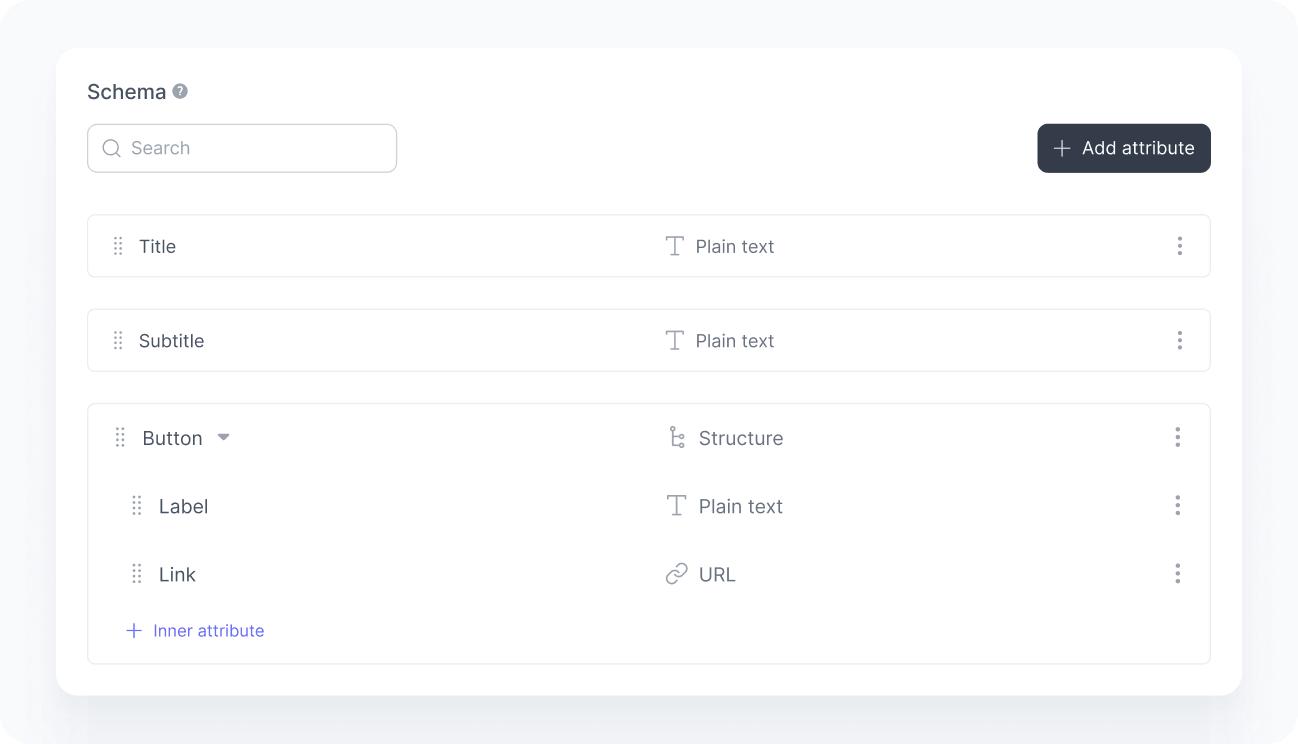
Define the following attributes:
Attribute Type Required title Plain text Yes subtitle Plain text Yes button Structure Yes button.label Plain text Yes button.link URL Yes Save the component.
Create the slot
A slot is a placeholder in your application where content is rendered. Let’s create one for the hero section of your homepage.
Open to the slots page in the admin app.
Click New slot, set the ID to home-hero, and associate it with the home-hero component you just created.
Fill in the default content, which is what users see when an active experience does not impact them.
Attribute Value title Learn more about our platform subtitle The easiest way to get started. button.label Get started button.link /signup Save the slot.
Add the slot to your project
Pull the slot into your codebase so the SDK can fetch its content:
npx croct@latest add slot home-heroThe CLI downloads the slot’s default content and generates type definitions so your code has full autocomplete and type safety.
Render the slot
Now that the slot is added, render it in your application. Below is an example of how to fetch and display the home-hero slot content:
import croct from '@croct/plug';
async function renderHero() {  const {content} = await croct.fetch('home-hero');
  document.querySelector('#hero-title').textContent = content.title;  document.querySelector('#hero-subtitle').textContent = content.subtitle;
  const button = document.querySelector('#hero-cta');
  button.textContent = content.button.label;  button.href = content.button.link;}
renderHero();
Try it out
Your hero content is now dynamic and managed directly from the admin app. To see it in action:
Open your application and confirm the default content appears.
Open the home-hero slot again and edit the content.
Reload your application and check if you see the updated content.

Anyone on the team can now update this content from the admin app without a deploy.