Manual installation
Learn the steps to manually integrate Croct into your Nuxt project.
The following guide gives you a step-by-step overview of how to install and initialize the SDK in your project.

The CLI can fully automate the integration process for you. Check out the integration guide to get started faster.
Install the SDK
Run the following command to install the SDK:
npm install @croct/plug-nuxtSet up environment variables
When generating the API key, check the Issue user tokens permission to allow the SDK to generate signed tokens.
Add the following environment variables to your project replacing the placeholders with your Application ID and API Key:
NUXT_PUBLIC_CROCT_APP_ID=<APPLICATION_ID>NUXT_CROCT_API_KEY=<API_KEY>Register the module
Add @croct/plug-nuxt to your Nuxt configuration:
export default defineNuxtConfig({ modules: ['@croct/plug-nuxt'],})The module automatically registers the server middleware, client plugin, composables, and components. For a list of all available options, refer to the Configuration reference.
Check your integration
If you open your application now, it should start sending events.
To check if your integration is working, go to the Integration page of your application.
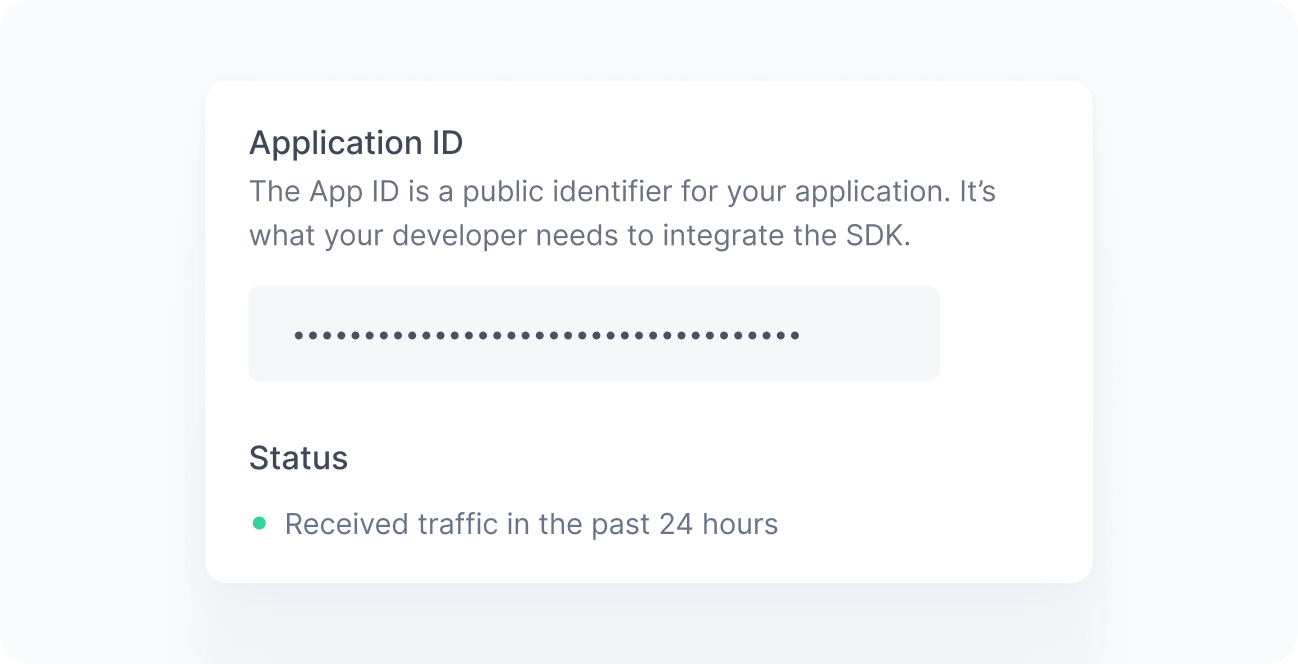
When working correctly, you should see a green bullet next to the Status label saying “Received traffic in the past 24 hours”. If you still do not see this message after a few minutes, see the Troubleshooting reference.