Manual installation
Learn the steps to manually integrate Croct into your Symfony project.
The following guide gives you a step-by-step overview of how to install and configure the bundle in your project.

The CLI can fully automate the integration process for you. Check out the integration guide to get started faster.
Install the bundle
Install the bundle using Composer:
composer require croct/plug-symfony symfony/twig-bundleThis pulls in a PSR-18 HTTP client and PSR-7 factories, so there is nothing else to install.
Register the bundle
Enable the bundle in config/bundles.php:
<?php
return [    // ...    Croct\Plug\Symfony\CroctBundle::class => ['all' => true],];
Configure your credentials
Add your application ID and API key to the .env file in your project root:
CROCT_APP_ID=<APPLICATION_ID>CROCT_API_KEY=<API_KEY>You can find the application ID and create an API key on the Integration page of your application.
The bundle reads them through config/packages/croct.yaml:
croct: app_id: '%env(CROCT_APP_ID)%' api_key: '%env(CROCT_API_KEY)%'For all available options, see Configuration.
Check your integration
If you open your application now, it should start sending events.
To check if your integration is working, go to the Integration page of your application.
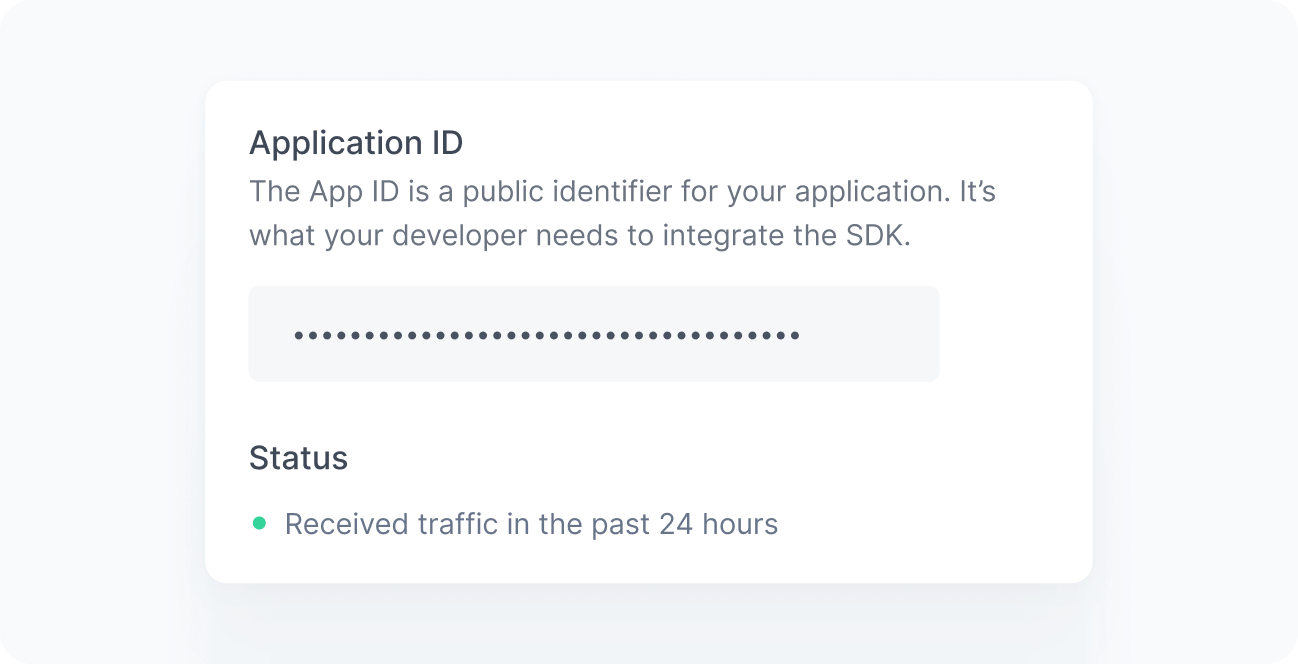
When working correctly, you should see a green bullet next to the Status label saying “Received traffic in the past 24 hours”. If you still do not see this message after a few minutes, see the Troubleshooting reference.