Manual installation
Learn the steps to manually integrate Croct into your Shopify Hydrogen project.
The following guide gives you a step-by-step overview of how to install and initialize the SDK in your project.

The CLI can fully automate the integration process for you. Check out the integration guide to get started faster.
The SDK works with both React Router 7 and Remix Hydrogen apps. Most steps are the same. The only difference is how you wire the request context, shown for each setup in the corresponding step.
Install the SDK
Run the following command to install the SDK:
npm install @croct/plug-hydrogenSet up environment variables
When generating the API key, check the Issue user tokens permission to allow the SDK to generate signed tokens.
Add the following environment variables to your project replacing the placeholders with your Application ID and API Key:
PUBLIC_CROCT_APP_ID=<APPLICATION_ID>CROCT_API_KEY=<API_KEY>For a list of all available environment variables, see the Environment variables reference.
Add the Vite plugin
Add the Vite plugin to your Vite config, after the Hydrogen and router plugins (reactRouter() for React Router 7, or remix() for Remix). It bakes the public Croct configuration into the browser bundle:
import {defineConfig} from 'vite';import {hydrogen} from '@shopify/hydrogen/vite';import {oxygen} from '@shopify/mini-oxygen/vite';import {reactRouter} from '@react-router/dev/vite';import {croct} from '@croct/plug-hydrogen/vite';
export default defineConfig({  plugins: [hydrogen(), oxygen(), reactRouter(), croct()],});
Wire the request context
The SDK resolves the visitor context (client ID, user token, locale, and preview state) on the server for every request. How you wire it depends on whether your app uses React Router 7 or Remix:
- React Router 7 registers a route middleware on the root route.
- Remix builds the context in the getLoadContext wrapper using the context helper, since it has no route middleware.
import {createCroctMiddleware} from '@croct/plug-hydrogen/server';
// Register the middleware so loaders and actions receive the Croct visitor context.export const middleware = [createCroctMiddleware()];
Initialize the provider
Add the provider component to your root route, inside Shopify’s <Analytics.Provider> so the SDK can forward storefront analytics events to Croct. You do not need to pass an Application ID, the Vite plugin injects it from the environment:
import {CroctProvider} from '@croct/plug-hydrogen';
export default function App() {  const data = useRouteLoaderData('root');
  return (    <Analytics.Provider cart={data.cart} shop={data.shop} consent={data.consent}>      <CroctProvider>        <PageLayout {...data}>          <Outlet />        </PageLayout>      </CroctProvider>    </Analytics.Provider>  );}
Write the visitor cookies
In your server entry, call the cookie writer to persist the visitor cookies on the response. Call it after committing the Hydrogen session so its Set-Cookie header does not overwrite Croct’s cookies:
import {writeCroctCookies} from '@croct/plug-hydrogen/server';
const response = await handleRequest(request);
if (context.session.isPending) {  response.headers.set('Set-Cookie', await context.session.commit());}
// Write the visitor cookies after the session commit so it does not overwrite them.writeCroctCookies(response, context);
return response;
Allow the Croct API in the CSP
If your storefront sets a Content Security Policy, allow the browser SDK to reach the Croct API by adding it to the list of permitted connection sources. The value is merged with Hydrogen’s defaults, so Shopify’s sources are preserved:
const {nonce, header, NonceProvider} = createContentSecurityPolicy({ shop: { checkoutDomain: context.env.PUBLIC_CHECKOUT_DOMAIN, storeDomain: context.env.PUBLIC_STORE_DOMAIN, }, // Allow the browser SDK to reach Croct's API (tracking, evaluation, content). connectSrc: ['https://api.croct.io'],});Check your integration
If you open your application now, it should start sending events.
To check if your integration is working, go to the Integration page of your application.
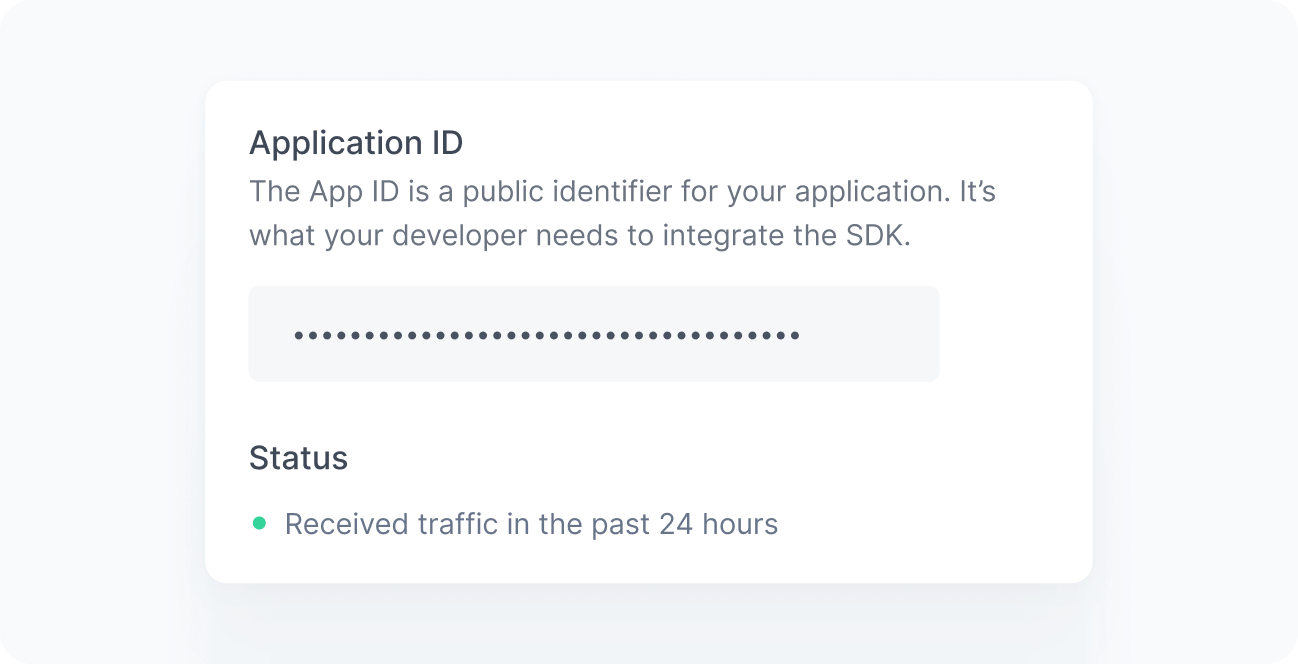
When working correctly, you should see a green bullet next to the Status label saying “Received traffic in the past 24 hours”. If you still do not see this message after a few minutes, see the Troubleshooting reference.