ZoomInfo personalization
Create experiences using ZoomInfo data.
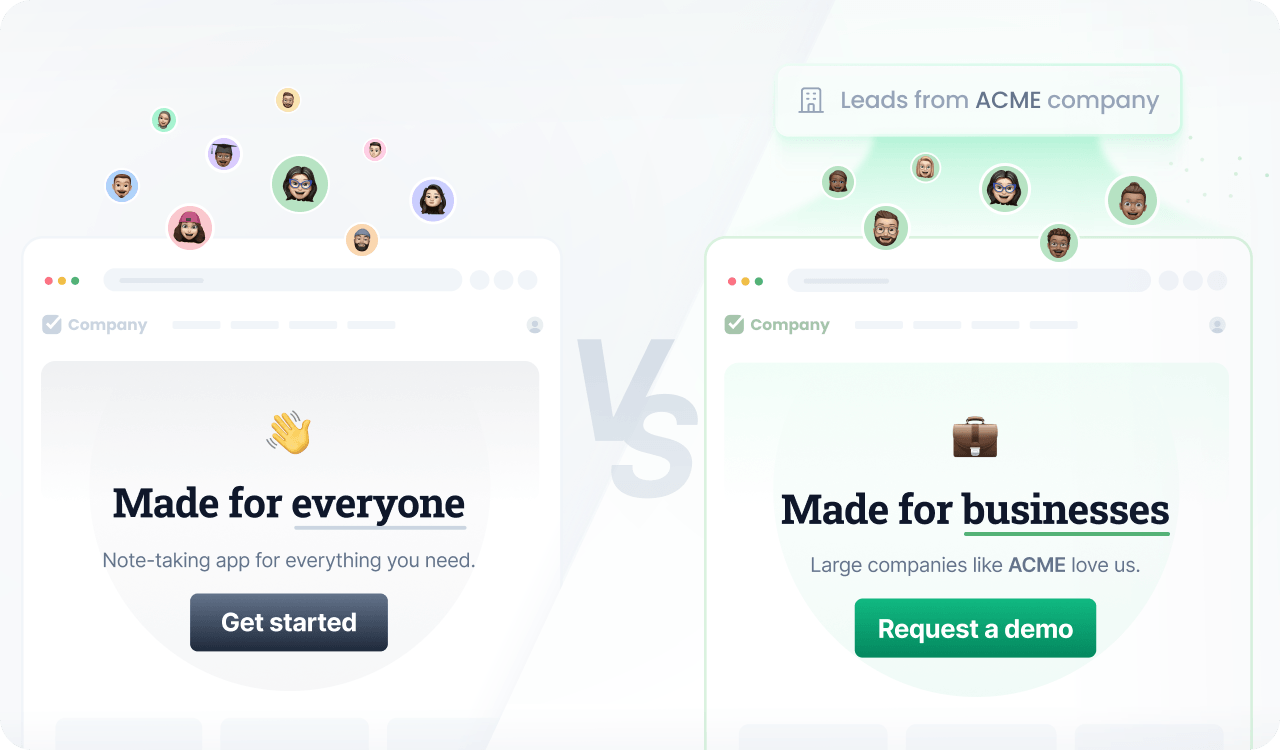
If you use ZoomInfo to identify anonymous firmographic data, you can bring that same level of relevance to your website content.
Instead of a generic, one-size-fits-all website, you can dynamically adapt to an account’s industry, company name, or employee count in real time.
By aligning your onsite content with the high-intent accounts you target, you reinforce your value proposition and increase the impact of every visit.
Prerequisites
Before you start, make sure you have:
- A Croct account with a workspace and application set up.
- Integrated a slot into your project.
- Completed the ZoomInfo data activation integration.
Step by step
Follow this to configure your experience:
- Create an experience
Open the experiences page in the admin app and click New experience to create an experience.
- Define an audience
In the Audience tab, click New audience and define a criteria.
You can use the attributes you ingested from ZoomInfo, like this:
user's industry is "Financial Services"and user's employees is "250-499" - Select the slot
Click the Slot tab and select the ones you want to personalize.
You can select multiple slots across the website to maintain consistent communication. Some popular choices are the hero section, the logo cloud, and the testimonials section.
- Define the personalized content
Click the Content tab to specify which content should be shown to those users in the selected slots.
- Preview and publish
Publish your experience or click Preview to see the magic happen.
Since ZoomInfo usually takes a few moments to load, the firmographic data might not be available on the very first page view. Plan your experiences considering that data might activate on subsequent pageviews.