Activate Clearbit firmographic data
Target high-intent accounts with a tailored message using Clearbit data.
In this tutorial, you will create an experience that displays personalized website content based on a visitor’s firmographic data from Clearbit.
By the end, your website will dynamically adapt to an account’s industry, company name, or employee count in real time.

Since Clearbit usually takes a few moments to load, the firmographic data might not be available on the first page view.
Prerequisites
Before you start, make sure you have:
- A Croct account with a workspace and application set up.
- The Croct SDK installed in your project.
- Clearbit Reveal installed on your website.
Send data from Clearbit to Croct
To personalize the experience, you first need to capture the firmographic data identified by Clearbit and store it in our user profiles.
In this tutorial, we will use Google Tag Manager (GTM) to listen for the Clearbit identification event and push the resulting data directly into the user’s profile.
Edit your Clearbit Reveal tag
In Google Tag Manager, select Tags.
Find your Clearbit Reveal tag.
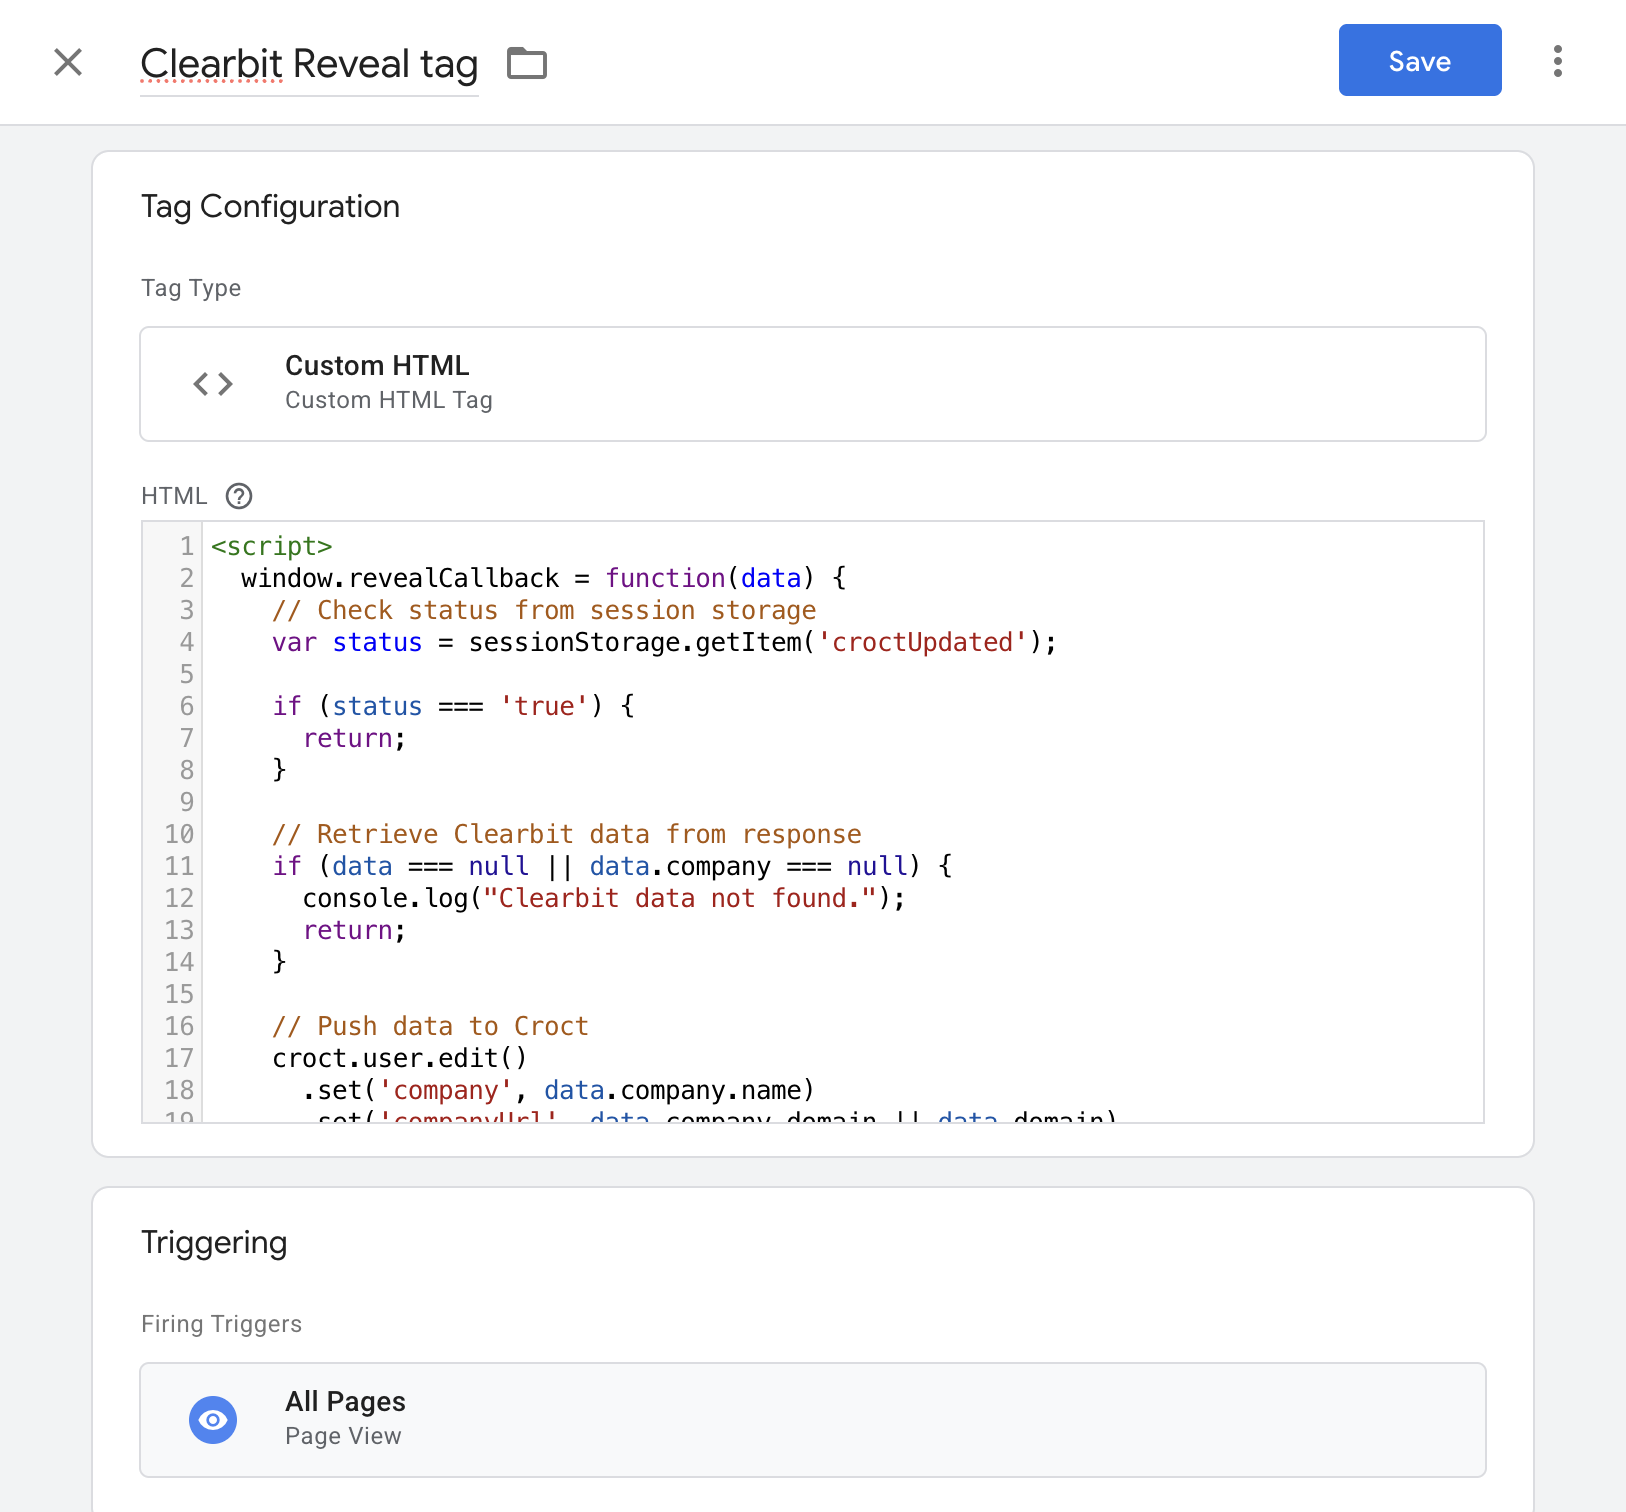
Add the &callback=revealCallback query string to the existing Clearbit Reveal script and insert the below code snippet before it:
Custom HTML tag123456789101112131415161718192021222324252627282930313233343536373839404141<script> window.revealCallback = function(data) { // Check status from session storage var status = sessionStorage.getItem('croctUpdated'); if (status === 'true') { return; } // Retrieve Clearbit data from response if (data === null || data.company === null || data.metrics === null) { console.log('Clearbit data not found.'); return; } // Push data to Croct croct.user.edit() .set('company', data.company.name) .set('companyUrl', data.company.domain || data.domain) .set('custom.industry', data.category.industry) .set('custom.employees', data.metrics.employeesRange) .set('custom.revenue', data.metrics.estimatedAnnualRevenue) .set('custom.firmographic.match', data.confidenceScore) .set('custom.firmographic.source', 'Clearbit') .save(); // Track event croct.track('eventOccurred', { name: 'ClearbitDataRetrieved', details: { match: data.confidenceScore, source: 'Clearbit', } }); // Update status to prevent updates on every pageview sessionStorage.setItem('croctUpdated', 'true'); }</script> <script src="https://reveal.clearbit.com/v1/companies/reveal?authorization=XXXXXXXX"></script><script src="https://reveal.clearbit.com/v1/companies/reveal?authorization=XXXXXXXX&callback=revealCallback"></script>You can customize the patch payload to track additional data:
Add new attributes12345678910croct.user.edit() .set('company', data.company.name) .set('companyUrl', data.company.domain || data.domain) .set('custom.industry', data.category.industry) .set('custom.employees', data.metrics.employeesRange) .set('custom.revenue', data.metrics.estimatedAnnualRevenue) .set('custom.companyCountry', data.geo.countryCode) .set('custom.firmographic.match', data.confidenceScore) .set('custom.firmographic.source', 'Clearbit') .save();Check the Clearbit attributes documentation for the full list of available data points, and the user reference for attributes.
Select the trigger Initialization - All Pages to fire this on all pages.
Click Save.
Your tag should look like this:
Check user profiles
Once your GTM tag is published and active, you can verify that the integration is working.
Open the user profiles page in the admin app.
Filter users using the Custom attributes or Work info tags and open one profile.
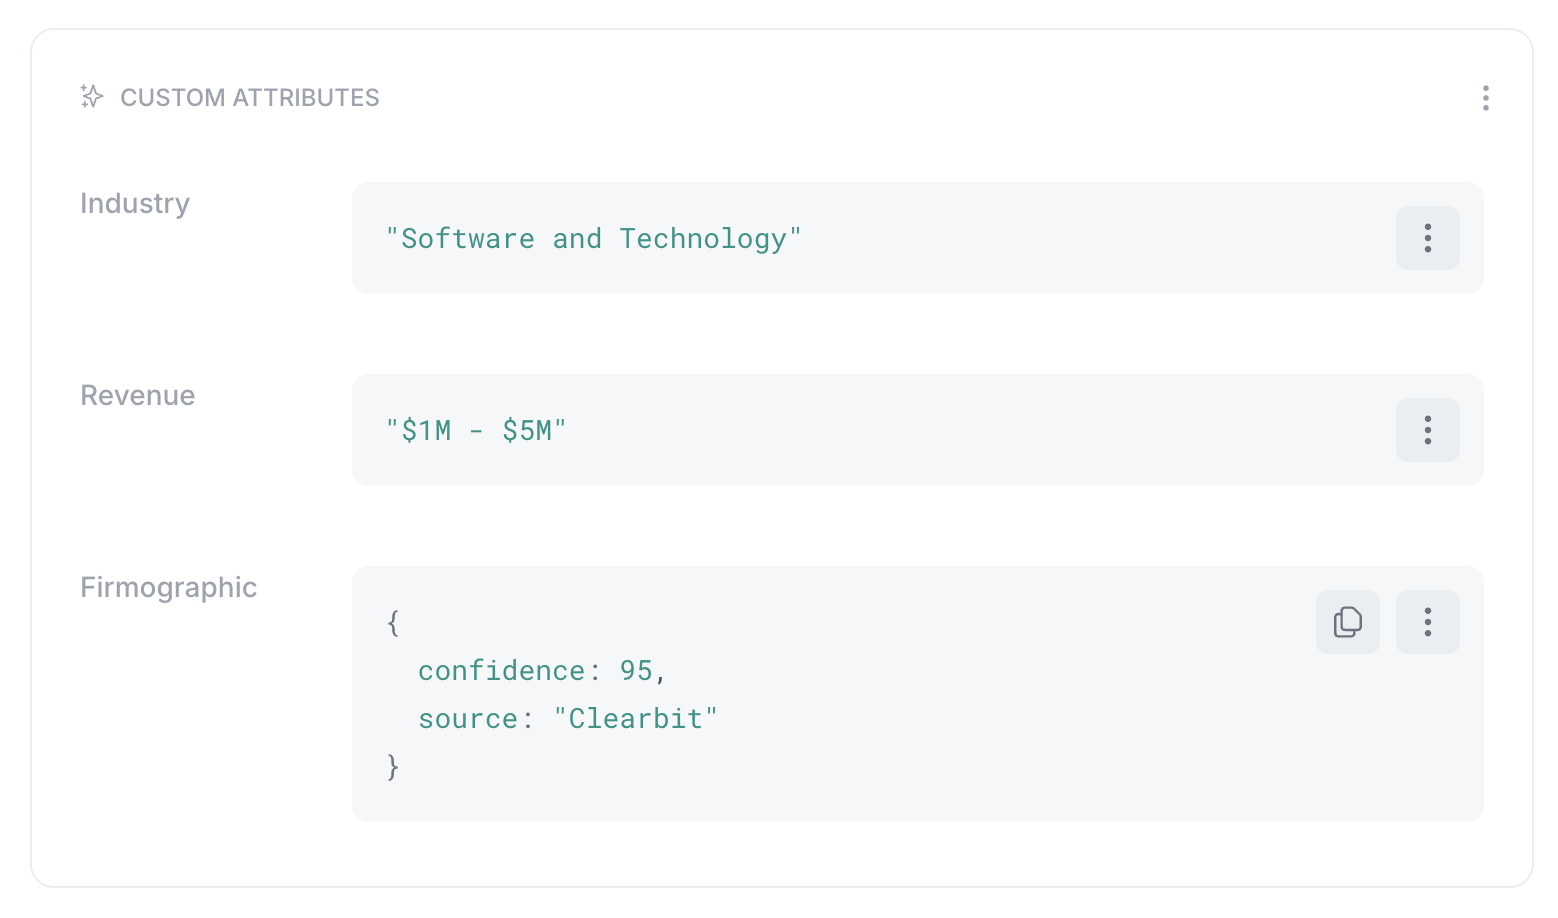
Open the Attributes tab and confirm that the firmographic data has been successfully ingested.
Create experiences
Now that we are receiving data from Clearbit, you can create audiences and personalize experiences.