Installation

Learn how to integrate Croct into your Next.js project.

Croct's mascot winking
Looking for a speedy start?

For a more streamlined setup, go to the  Integration page  of your workspace and you will find instructions tailored to your application.

Prerequisites

This SDK is designed for applications using Next.js 13.4 or late.

In addition, to get most out of this guide, you have to:

Install the SDK

Run the following command to install the SDK:

npm install @croct/plug-next

Configure

Follow the steps below to configure the SDK in your Next.js project.

Set up environment variables

Add the following environment variables to your project replacing the placeholders with your  Application ID  and  API Key :

.env.local
NEXT_PUBLIC_CROCT_APP_ID=<APPLICATION_ID>
CROCT_API_KEY=<API_KEY>

For a list of all available environment variables, see the Environment variables reference.

Configure the middleware

Select the appropriate section below based on your project's setup:

  • Create a new middleware file in the root of your project:

    middleware.js
    export {config, middleware} from '@croct/plug-next/middleware';

Initialize the provider

Add the <CroctProvider> component to the root of your application:

app/layout.jsx
12345678910111213
import {CroctProvider} from '@croct/plug-next/CroctProvider';
export default function RootLayout({children}) {
return (
<html lang="en">
<body>
<CroctProvider>
{children}
</CroctProvider>
</body>
</html>
);
}

Check your integration

If you open your application now, it should start sending events.

To check if your integration is working, go to the  Integration page  of your application.

Integration status

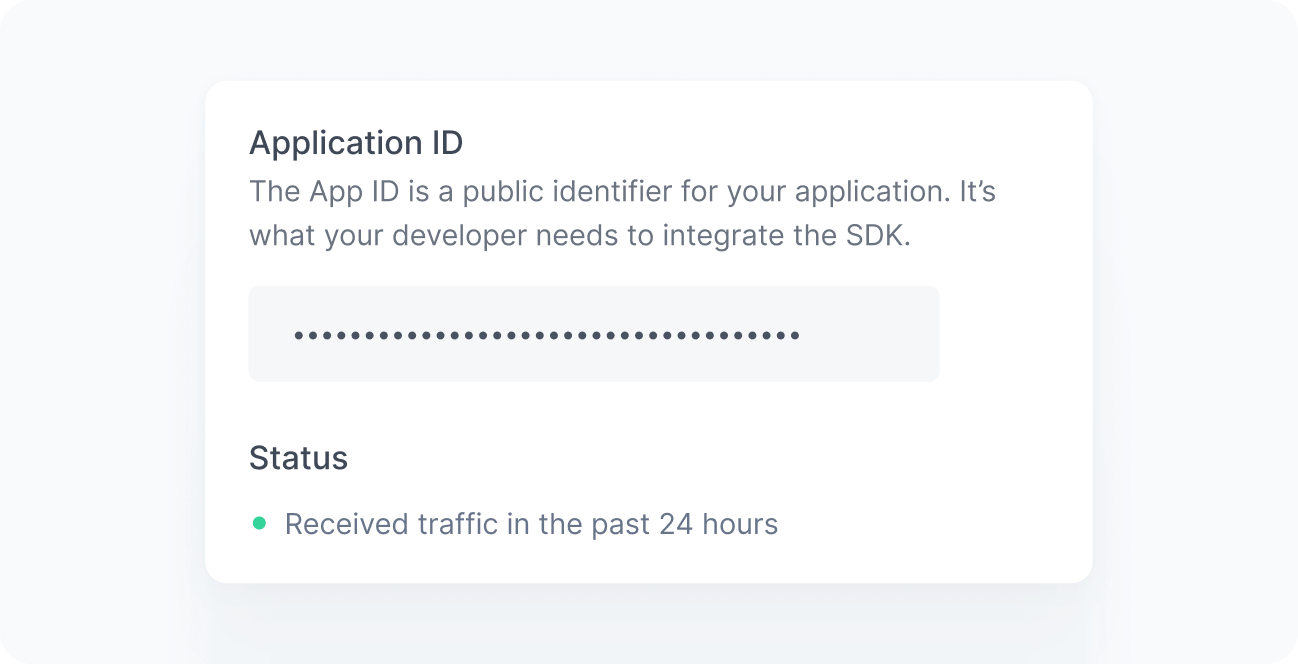
When working correctly, you should see a green bullet next to the Status label saying "Received traffic in the past 24 hours". If you still do not see this message after a few minutes, see the Troubleshooting reference.