Publishing templates
Learn how to reuse and share your work using templates.
Templates is a powerful feature that allows you to reuse and share components, slots, experiences, experiments, and even code in a flexible, structured way.
This guide will walk you through how to create your own templates and share them with others.
Create a template
Templates are defined using JSON5 and consist of a series of steps, called actions.
To start from scratch with an empty template, run:
npx croct@latest create template --emptyThis command generates a template.json5 file in the current directory with the following structure:
{ "$schema": "https://schema.croct.com/json/v1/template.json", "title": "My template", "description": "My template description", "actions": [ { "name": "print", "semantics": "info", "title": "Empty template", "message": "Edit this template to define your actions." } ]}You can now edit the metadata and actions to define your template.

Check out our template repository for examples and ideas.
Export from your account
If you are working with components or experiences, the easiest way to create a template is by exporting an existing resource from your account.
You can do this by running the following command:
npx croct@latest create templateThe CLI will guide you through selecting the resource and then generate a template file in the current folder.
To export it to a specific path, pass the desired location:
npx croct@latest create template path/to/my-template.json5Run your template
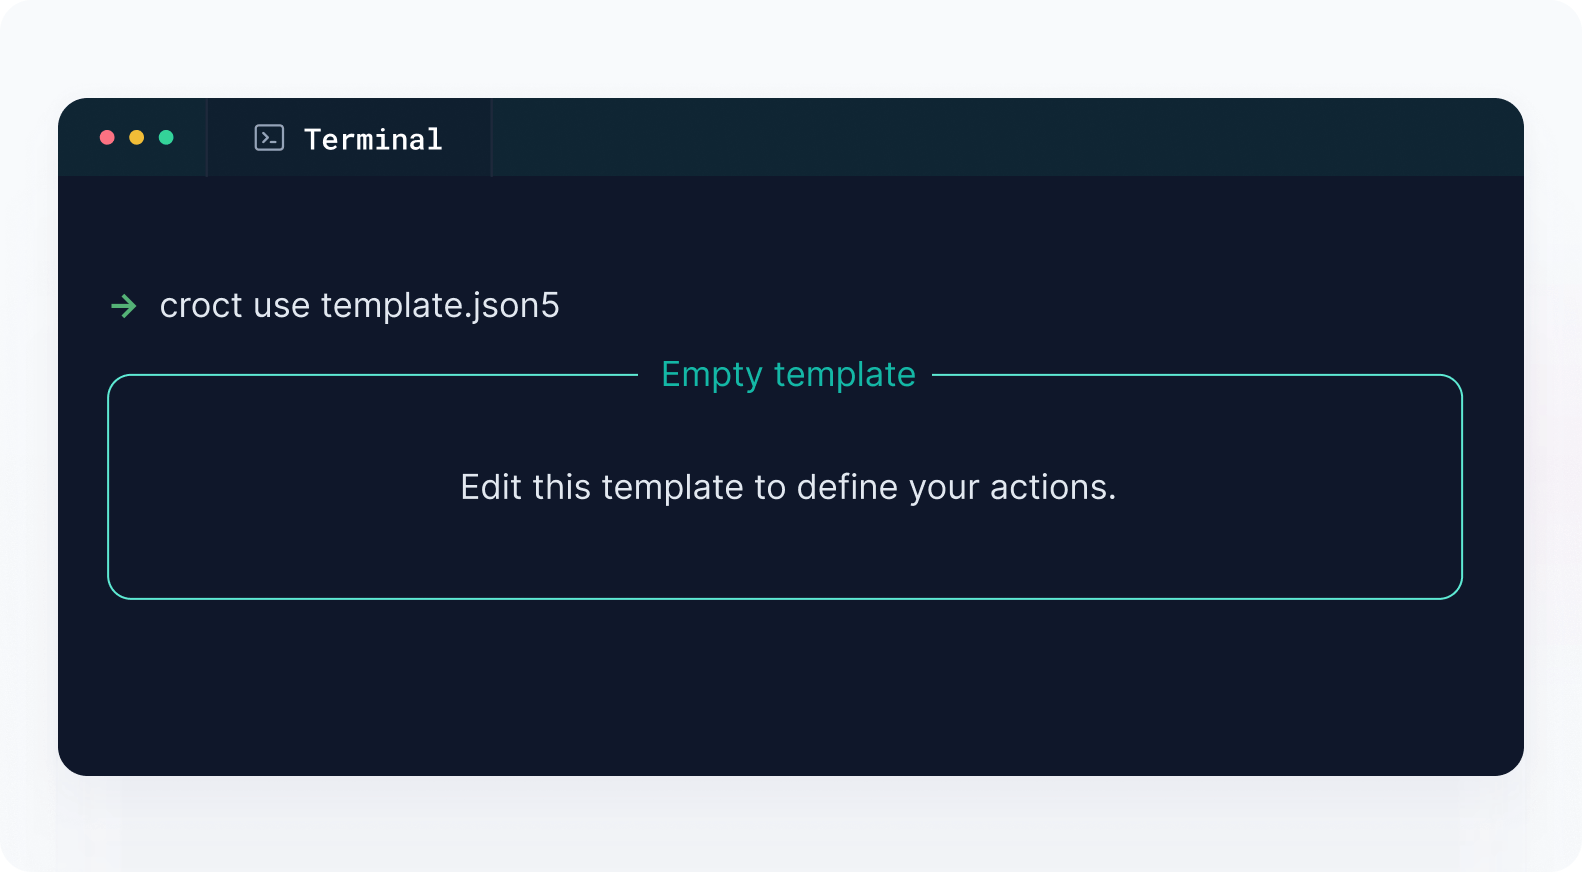
After creating or exporting your template, test it locally with:
npx croct@latest use template.json5For the example template above, you should see this output:
Share your template
There are several ways to share your template with others depending on your needs.
Share the file
Send the template.json5 file directly. Others can run it using:
npx croct@latest use template.json5This is perfect for quick sharing when there are no dependencies like images or code snippets.
Share a URL
You can host your template on any publicly accessible URL and use it like this:
npx croct@latest use https://templates.example.com/template.json5If you omit the file name, the CLI will look for template.json or template.json5, just like index files on websites:
npx croct@latest use https://templates.example.comShare via GitHub
Use a direct link to a template in a GitHub repository:
npx croct@latest use https://github.com/croct-tech/templates/blob/master/templates/nextjs/croct/template.json5This is ideal for versioning and collaboration.
Make your template discoverable
Help others find and use your template by making it discoverable through npm, GitHub, or the template catalog.
Associate with your package
If your template complements a library or component, you can associate it with your npm package.
To make this work, place the template file in the root directory of the GitHub repository associated with your package. This allows the CLI to discover it automatically.
For example, if your package is react-amazing-slider, users can run:
npx croct@latest use npm://react-amazing-sliderThe CLI will resolve the template using metadata from the npm registry and fetch it from the root of the linked repository.
Publish on the catalog
The best way to promote your template is by submitting it to the template catalog. It's browsed by thousands of developers monthly, and users can install your template with one click.
Here are the steps to publish your template:
- Fork the repository
Go to the templates repository and click the Fork button.
- Clone your fork
Run the following command to clone your forked repository replacing <username> with your GitHub username:
git clone https://github.com/<username>/templates.git - Update your template
Update your template file to use the catalog schema and add metadata:
{ "$schema": "https://schema.croct.com/json/catalog-template.json", "metadata": { "id": "boilerplate/utility/example-launcher", "verified": true, "author": { "name": "Croct", "avatarUrl": "https://github.com/croct-tech.png", "websiteUrl": "https://croct.com" }, "categories": ["boilerplate/utility"], "sourceUrl": "...", "coverImageUrl": "...", "installationUrl": "croct://utils/example-launcher", "documentationUrl": "..." }} - Add the template to the catalog
Place your template in a subfolder inside the appropriate organization directory:
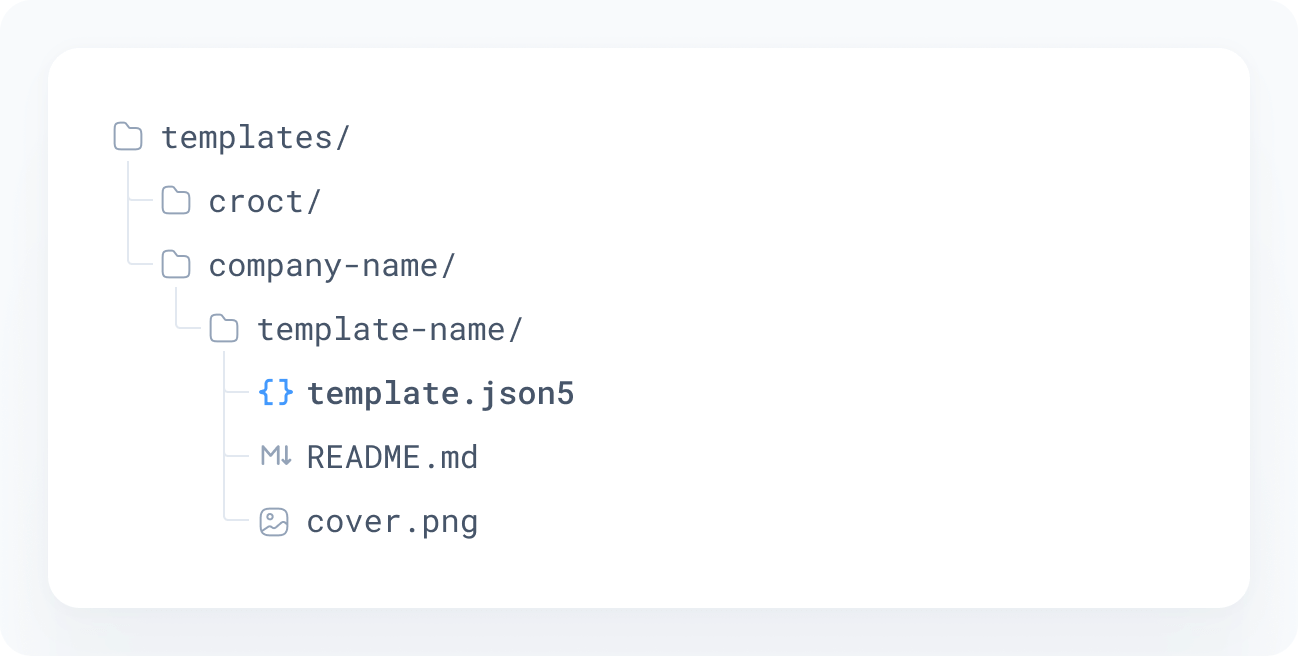
Use your company's domain (without .com, .io, etc.) for the folder name.
- Open a pull request
Commit your changes and push them to your forked repository. Then, go to the original repository and click the Pull request button.
Make sure to address any issues reported by our automated tests in the Checks tab of the pull request before requesting a review.
Check the GitHub documentation for more information on how to create a pull request.
Add a link to the catalog
Once your template is available on the template catalog, you can include a Use template button in your README to let users install it with a single click.
General button
Ideal for most templates, especially those that go beyond component schemas.
[](https://croct.com/templates/boilerplate/starter/nextjs-croct)Preview:
CMS button
For templates whose primary purpose is to provide a schema for a component, consider using the CMS variant:
[](https://croct.com/templates/boilerplate/starter/nextjs-croct)Preview: